About a year ago, Alan was telling me about how Blake Lewis (his tech on the world cup) would cut out damaged p-tex and replace it. I had never tried it, but after Ty tore 3 HUGE gashes into (basically) brand new skis- it was time for me to learn.
Disclaimer: This a difficult job. The first time I tried this, it was THE HARDEST ski repair I had ever done. I learned so much that the next pair wasn't too bad at all however. I am passing on a bit of what I learned to make it easier for you.
If you have a BIG core shot, this job is for you. When completed properly, the ski performs as well as it did before the damage occurred.
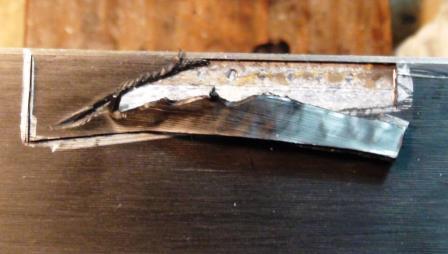
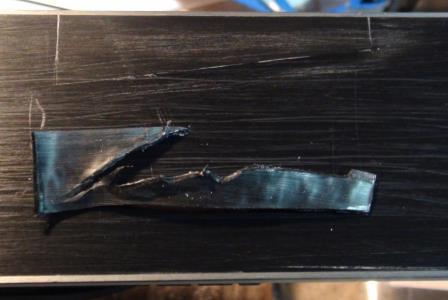
This is the big tear. I forgot to take a picture before I started, sorry.
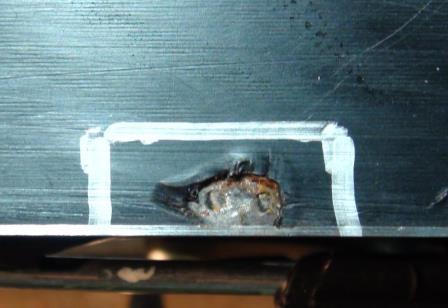
And the small tear, pre-repair.
Mark with a sharpie, then cut against a straight edge.
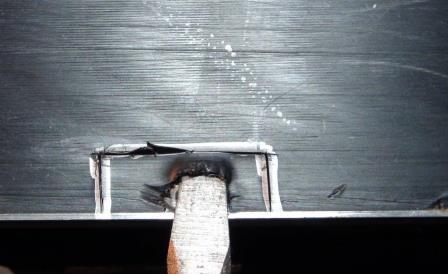
Then pry out the out base material with a screw driver or oyster knife.
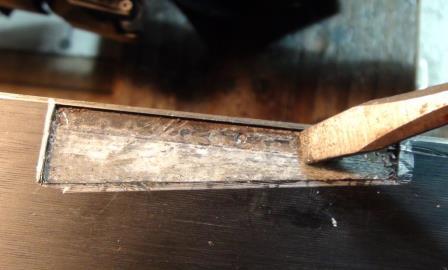
Clean out the damaged areas with screw driver and sandpaper, then blow out debris.
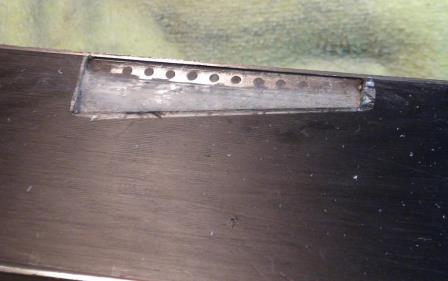
Ready for new P-Tex!
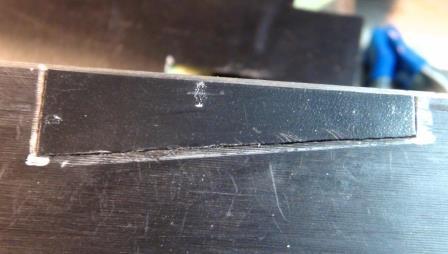
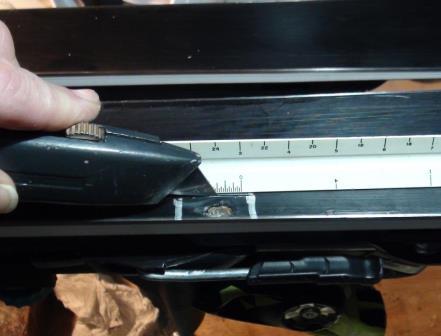
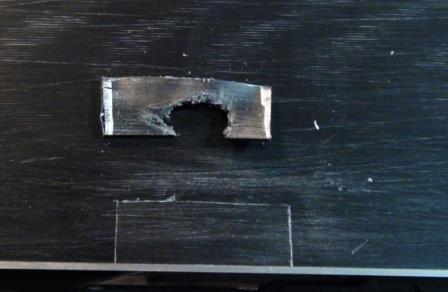
Measure the cut on the ski, and cut p-tex to fit. Test fit BEFORE mixing the epoxy.
Mask off the hole, apply the epoxy to both ski and repair, then put p-tex in place. This repair is ready for clamping.
Use the best epoxy you can find for this job. I use HySol 24 hour cure. It does cure faster in the hotbox though!
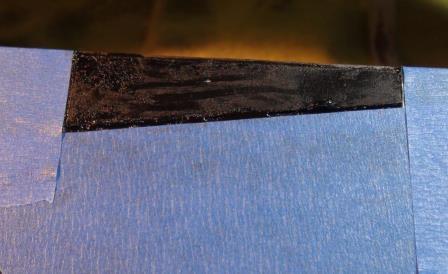
And here is the final result. This is AFTER extensive sanding, leveling, a bit of touching up the structure, and waxing with a low fluro wax:
Not bad eh? These skis will perform as well as they did before the damage.
See you on the hill!
-John


%20Logo.jpg)
