So this blog post started with some
Race Video of 1 of our Junior racers. I saw a funny "hitch" happen in their skiing when the heel was weighted. I have had the same thing happen to me- when the tail of the ski is railed- so I knew that
I must check the flatness of the skis in question. I checked the skis today and found them to be quite railed (also known as "edge-high," or "concave base") at the tail- and the flatness of the bases was inconsistent over the entire length of the ski.
So what does this
Inconsistent Flatness do to the tune? It pretty much ruins it. A ski cannot be properly beveled until it is flat- because the bevel tools rest on the base.
What does it feel like?
A concave ski is EXTREMELY unforgiving of fore-aft balance and edge angle mistakes, and it can even
CAUSE TECHNIQUE ERRORS because the ski will not behave properly.
So how do you
diagnose and correct flatness problems? Everything I did on this pair of skis is explained on other blog posts, but I will try to condense the process here. Look for pictures after the text.
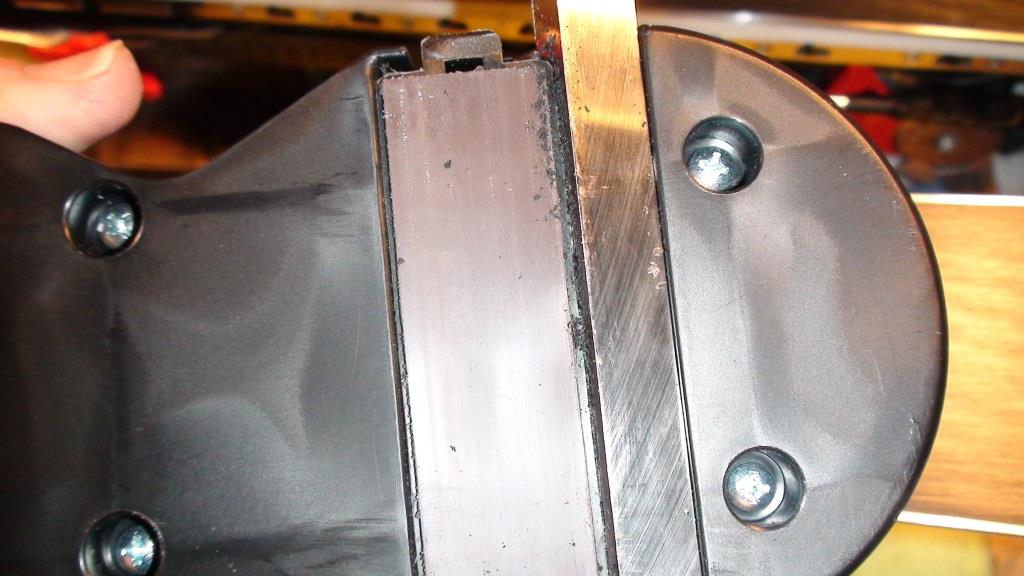
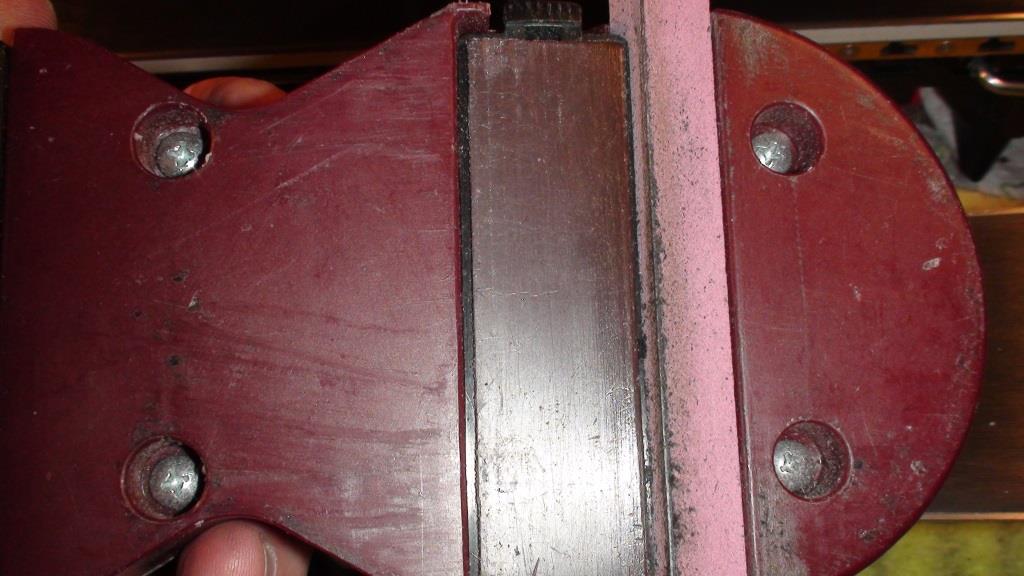
1.) Determine flatness with a True Bar. I used a feeler gauge as an auxiliary tool in this case. I like using a feeler gauge along with a True Bar because it is a more objective way to measure how flat a base is- and how much work is required. I use a .001" feeler for this work. By experimentation, I have learned that I can feel as little as .0015" variation, so I try to get our skis (and the skis I work on) within .0005". That way, I KNOW they are great!
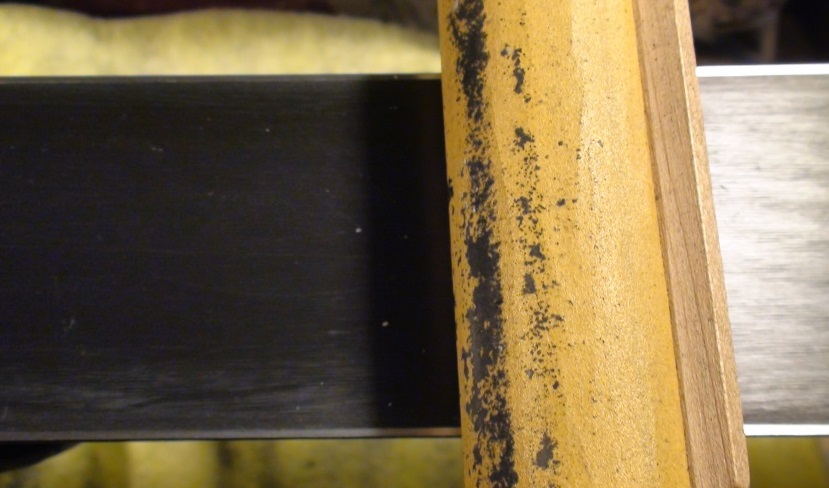
2.) "Zone" the ski. This means marking the ski into "Work Zones." When I find only part of a ski needs work, I mark that "zone" with wax. Then I work on the marked areas of the ski until the entire ski is uniform.
3.) Flatten the base/edge by removing material. I have found a Base Flattening File, Ray's Way Flattener, and Ski Visions Base Planer are an extremely effective combination of tools to do this work quickly.
4.) Repair Structure with a hand stone and/or sandpaper.
5.) Blend new structure into old with brushing/polishing.
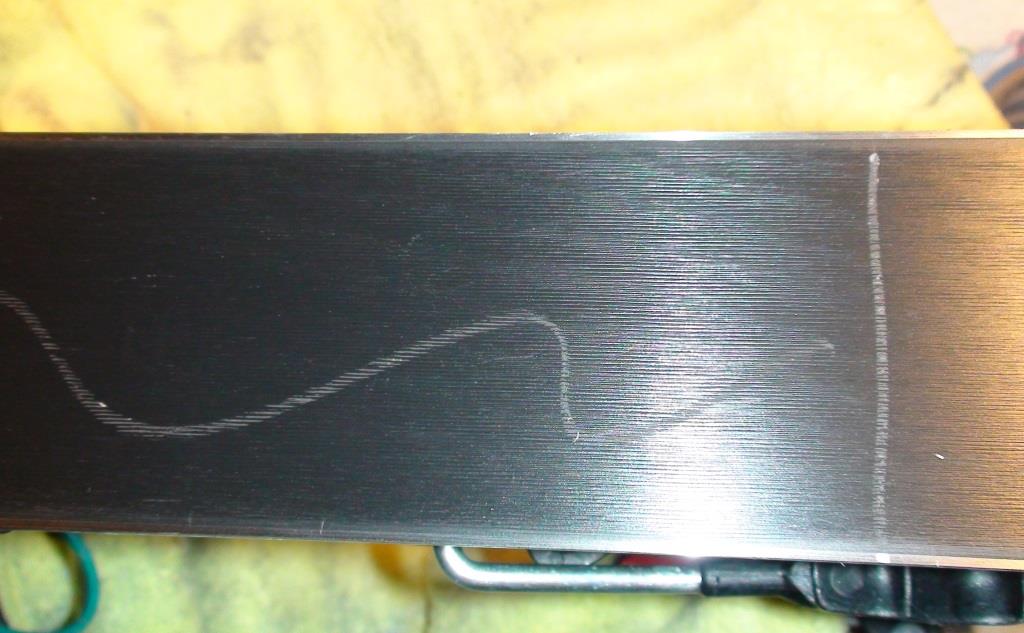
6.) Blacken the edge.I have covered this topic previously, but I will show pictures again. It is VERY difficult to see how an edge is changing when you are working on it. Blackening the edge with a Sharpie is a big help.
6.) Bevel the base edge.
7.) Rip the side wall.
8.) Bevel the side edge.
9.) Tune/wax as usual.
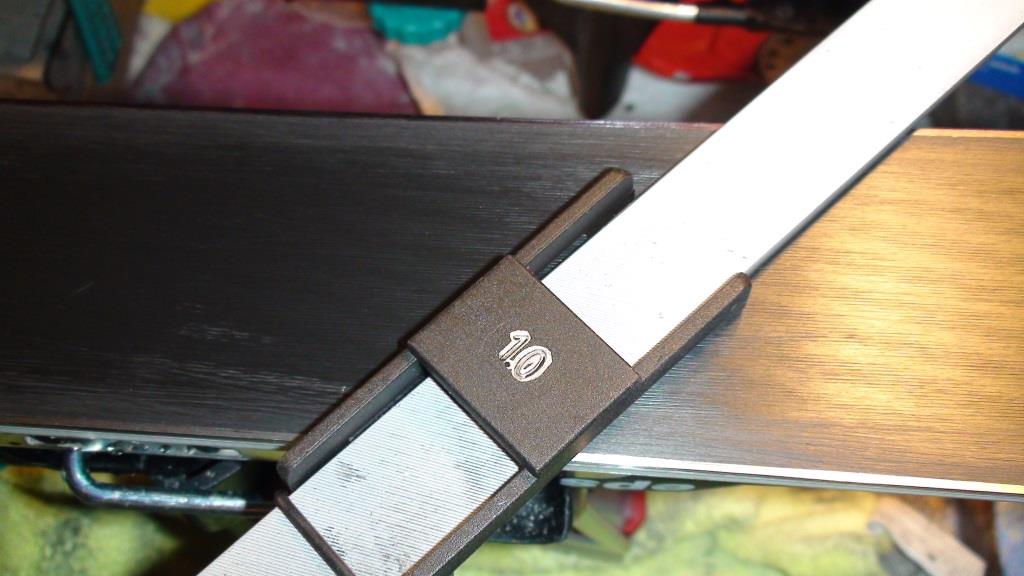
10.) In my shop, a ski this good gets a sticker.

Bar and feeler gauge.
Zoned ski.

Flattening file.
Ray's Way flattener.
Planer.
Hand Stone and tool.
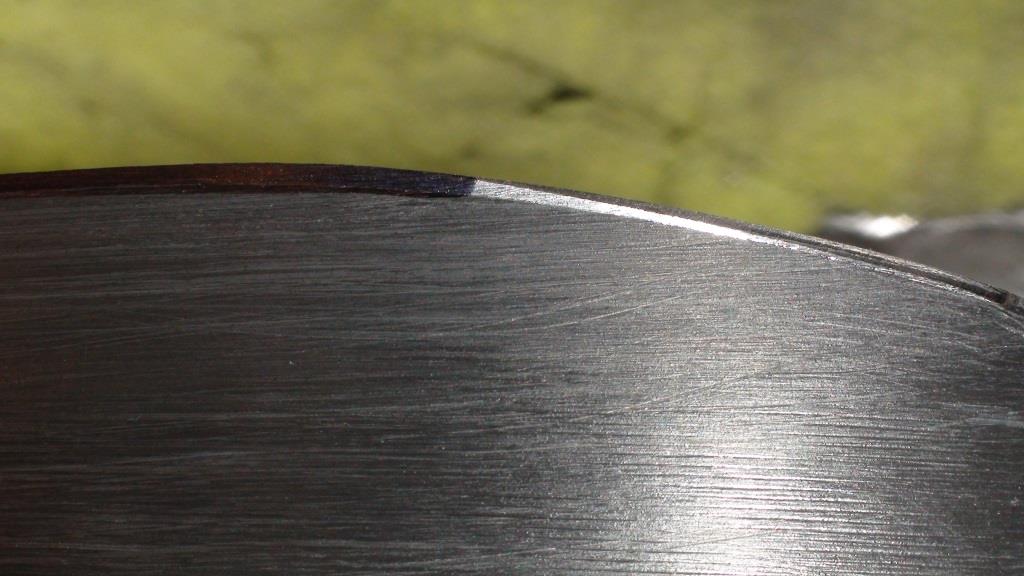
Edge is nice and black before filing.
File guide and file.
The marque of Blind Speed.


%20Logo.jpg)
